

Setting Up Checks
Before printing checks from a bank account for the first time, set up its check format.
Open the Bank Account
-
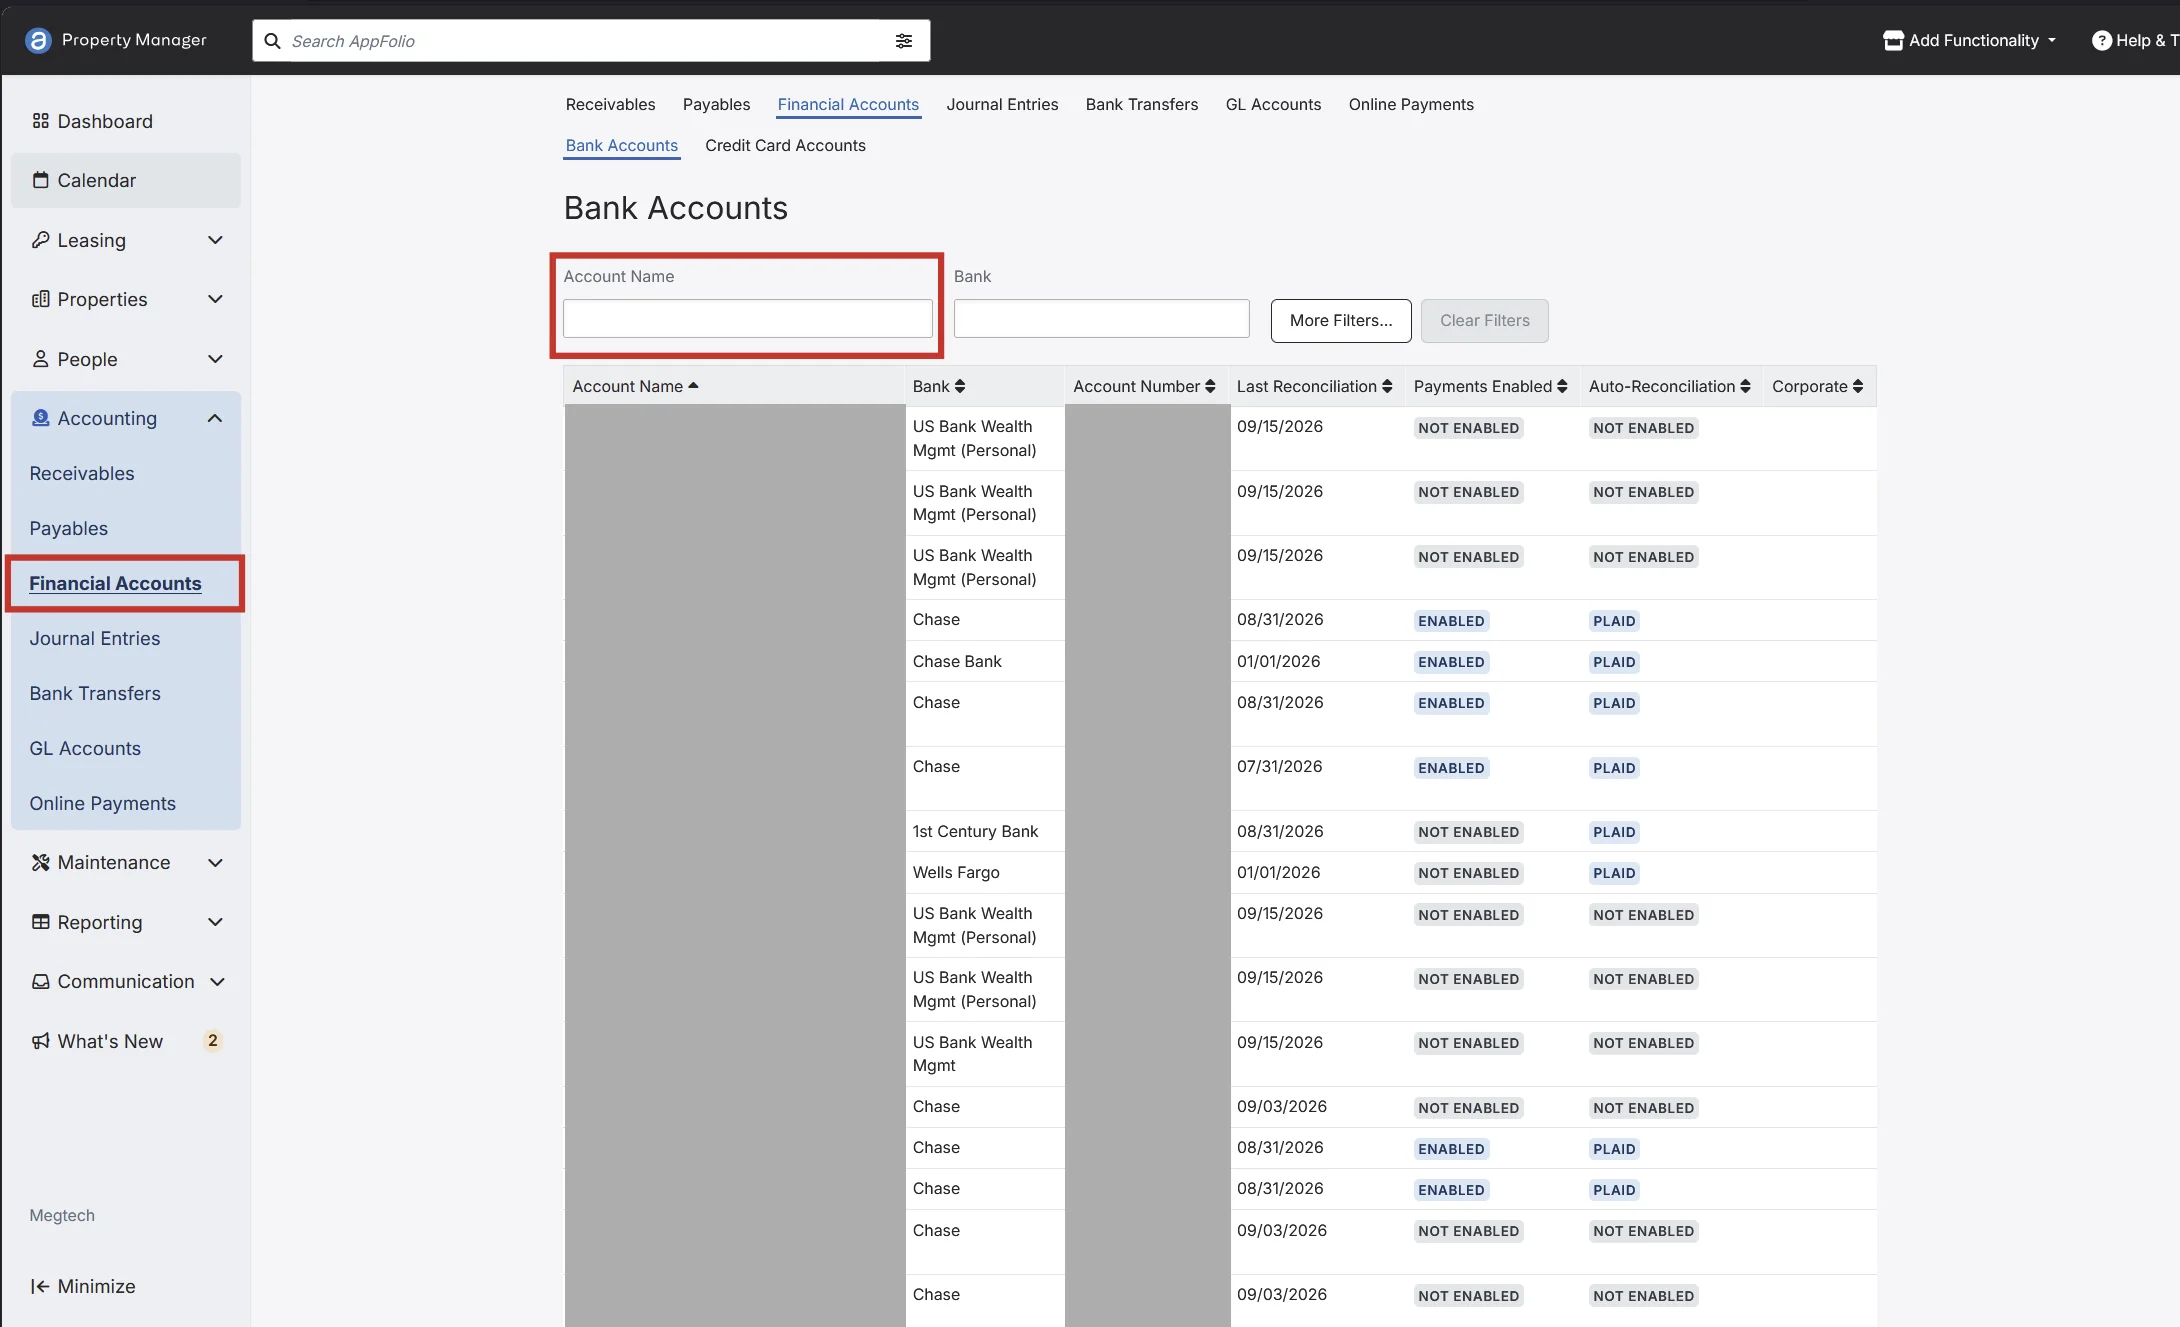
Go to Accounting > Financial Accounts > Bank Accounts. Use the Account Name filter to find the account, then click it.
-
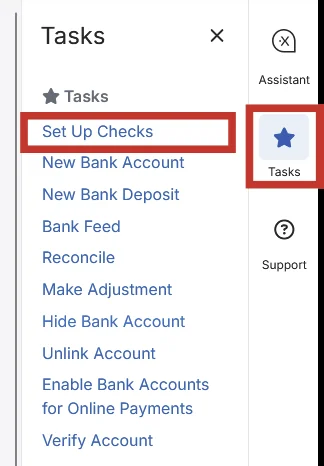
Open the Tasks panel on the right and click Set Up Checks.
Configure Check Settings
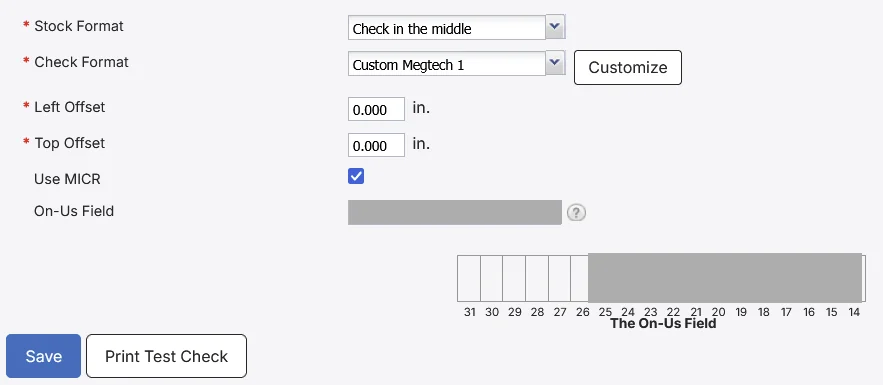
| Setting | Value |
|---|---|
| Stock Format | Check in the middle (required) |
| Check Format | Custom Megtech 1 (our default format) |
| Left Offset | 0.000 in. |
| Top Offset | 0.000 in. |
| Use MICR | Checked (required) |
| On-Us Field | Pre-filled from the account. Leave as is. |
Click Print Test Check to confirm alignment on real check stock, then click Save.
Fix Overlapping Text
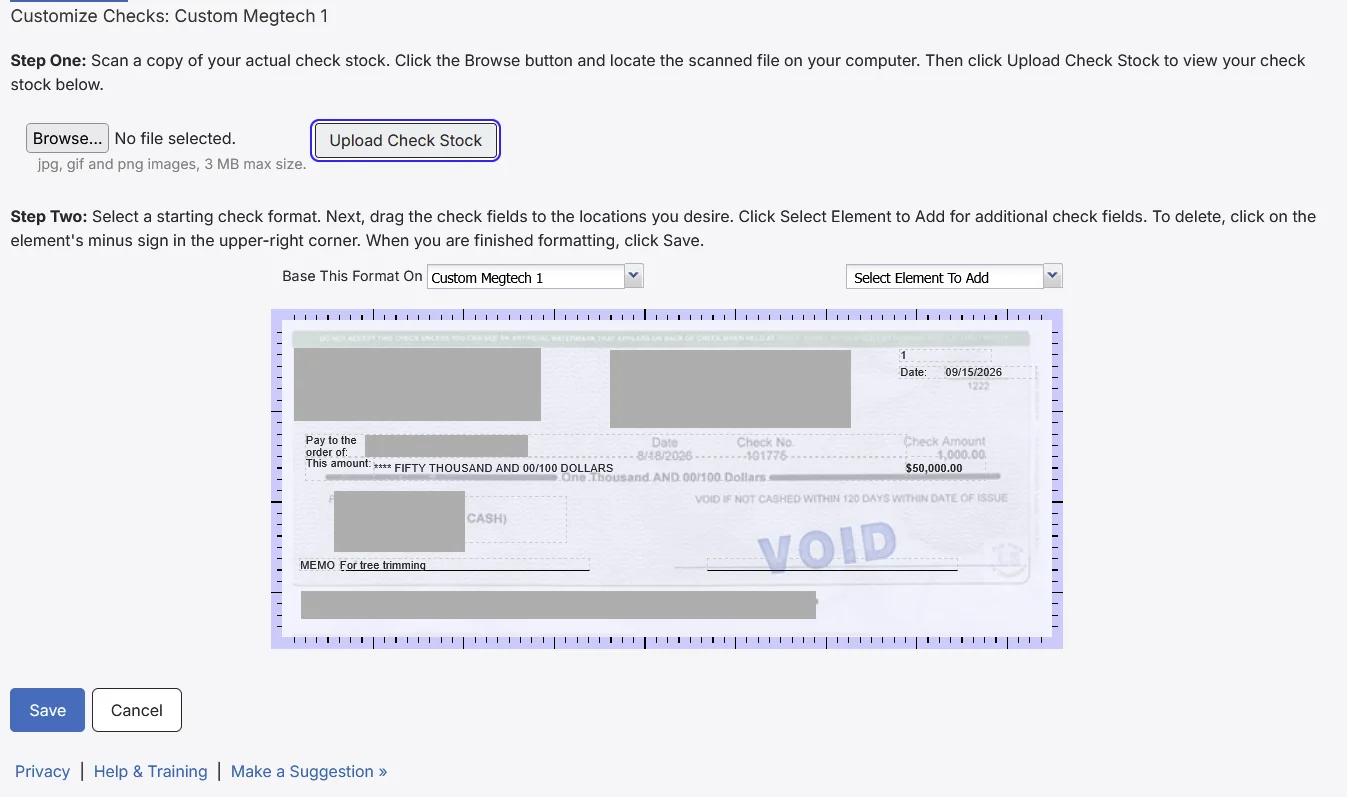
If text on the check preview or test print overflows or overlaps:
-
Click Customize next to the Check Format dropdown.
-
Drag the crowded fields down or apart until nothing overlaps.
-
Click Save.